
Harica certificate
This section deescribes how to obtain and install a Harica certificate. This is a prerequisite to get started on the Grid.
Obtain a Harica certificate
You can get your e-Science and personal certificates instantly from the GEANT Trusted Certificate Service using your instituitional login and SURFconext.
Follow the step-by-step guide below:
Request a new certificate via the HARICA portal and select “Academic login”.
From the mennu on the left side, select “IGTF Client Auth”.
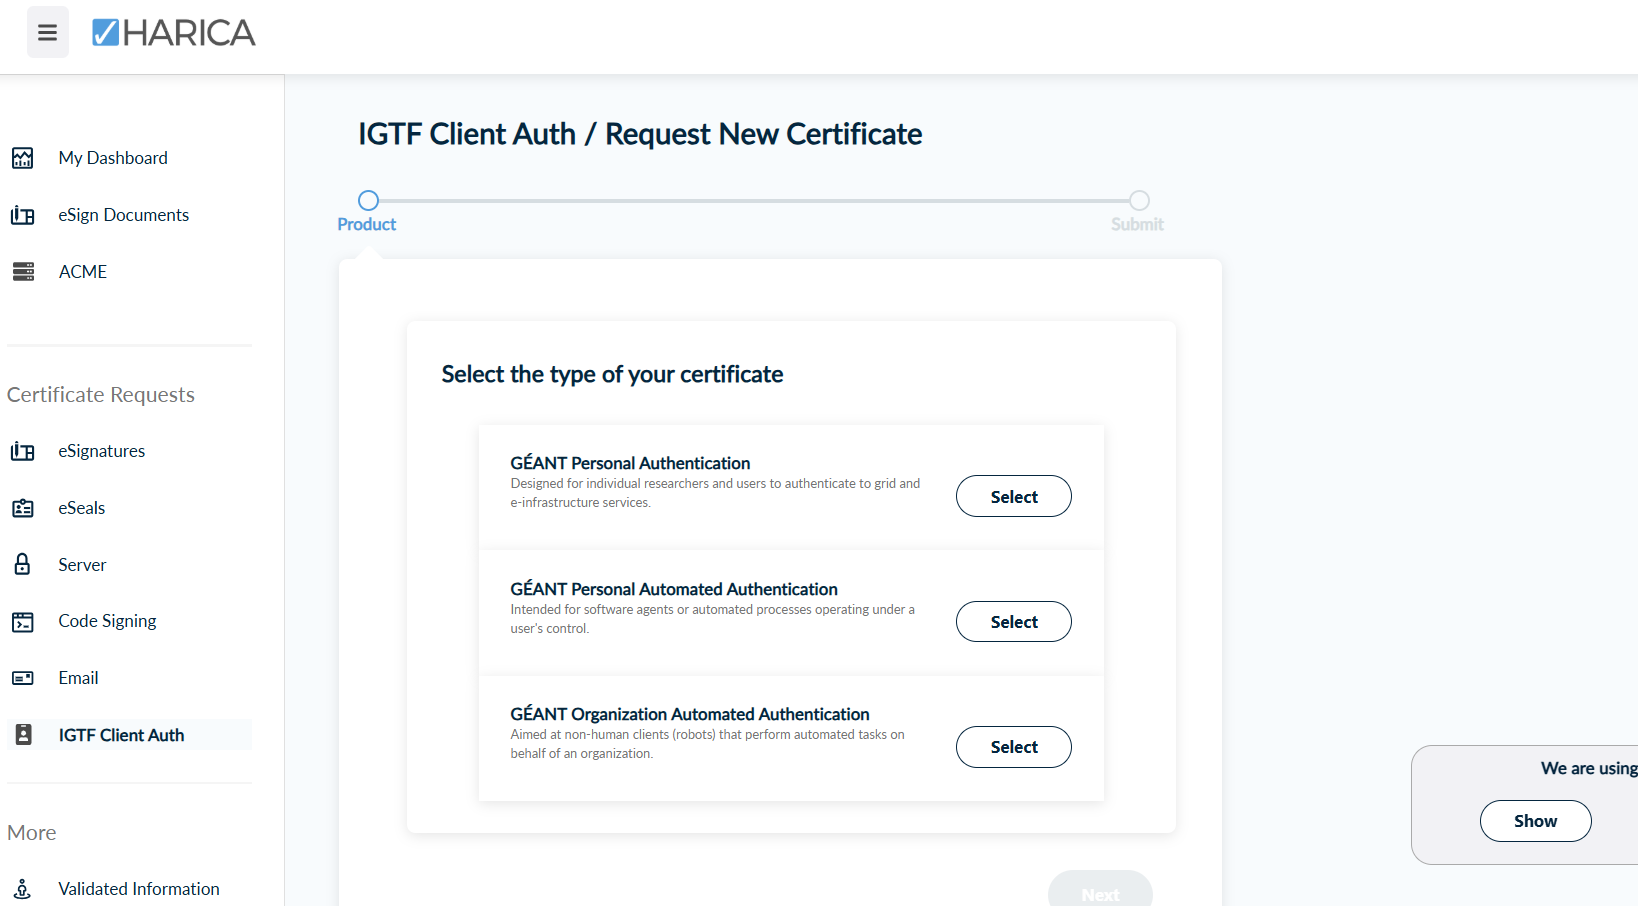
Next, request new certificate and select a product:
GEANT Personal Authentication - your preferred certificate: for authentication and accessing Research and e-Infrastructures like the GRID
GEANT Personal Automated Authentication - credentials for automated processes and software agents that are running under your personal control
For email signing certificates, use the “Email” menu and select either a simple mailbox-validated one (without a name)
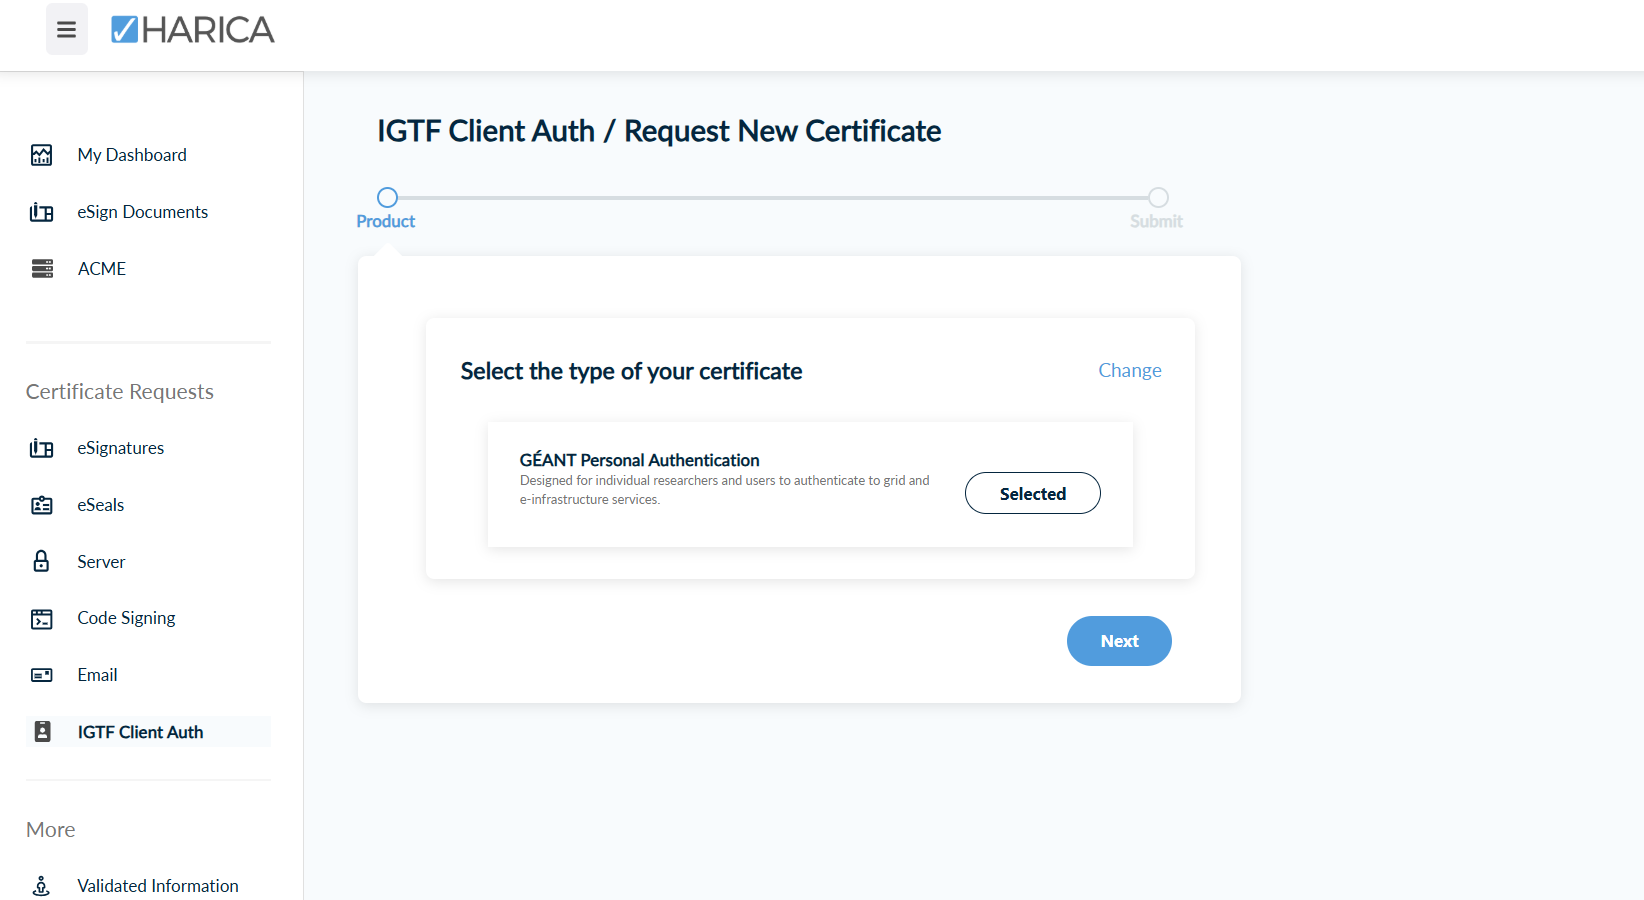
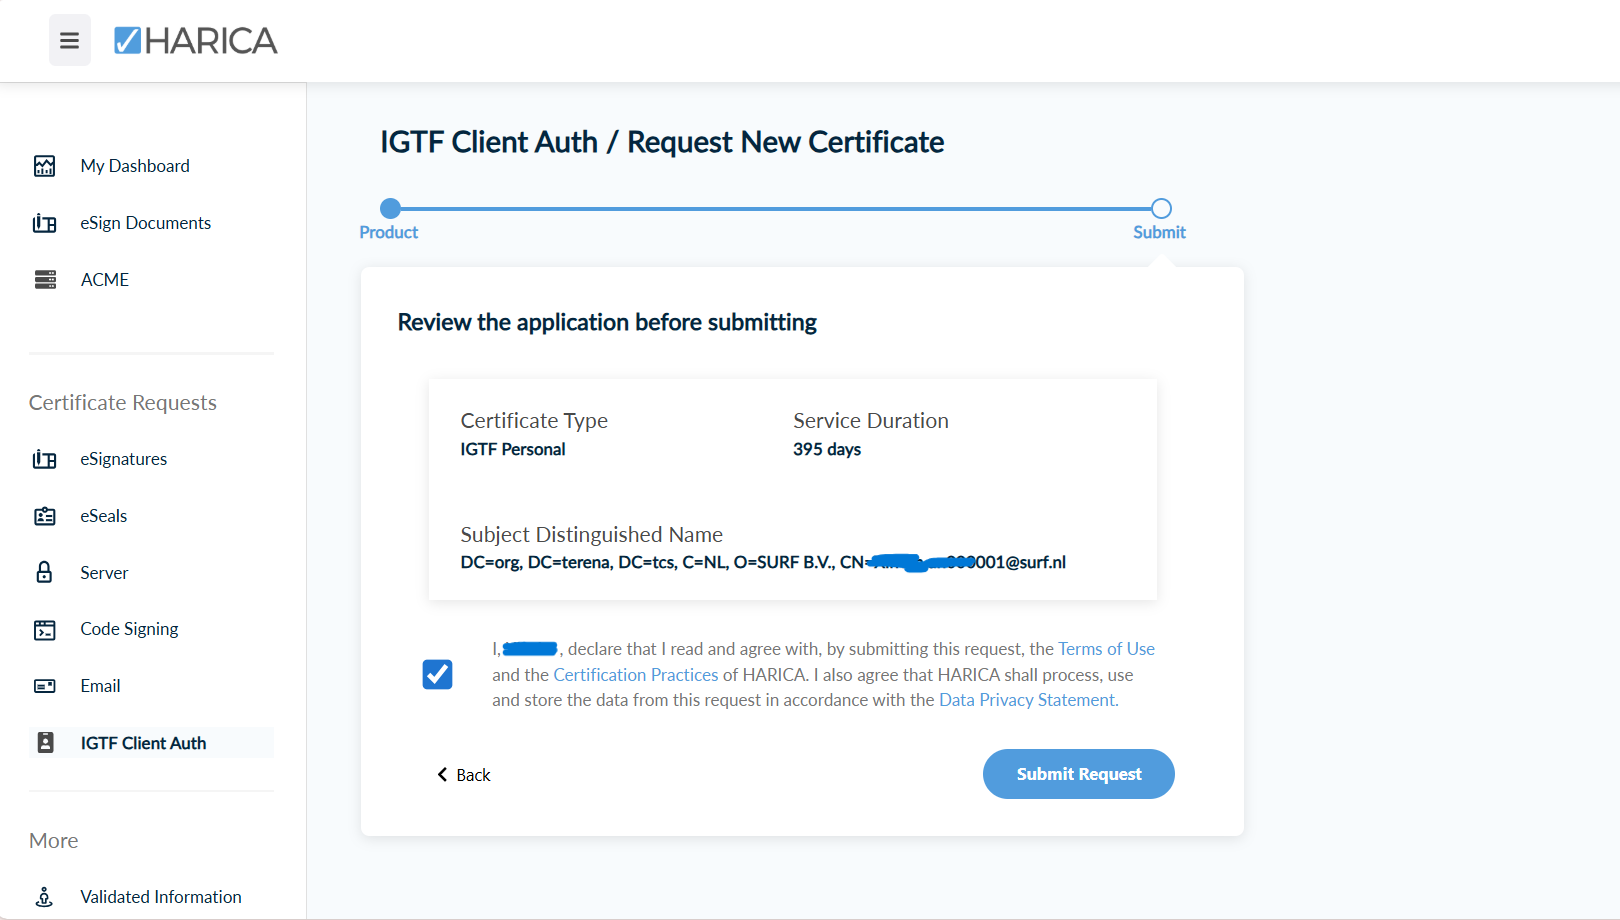
After slecting the type of your certificate, click next. Review the application and check the validity terms. For IGTF certificates this is always 395 days. For email certificates, you can also also select 730 days (2 years). Check the box and submit request.
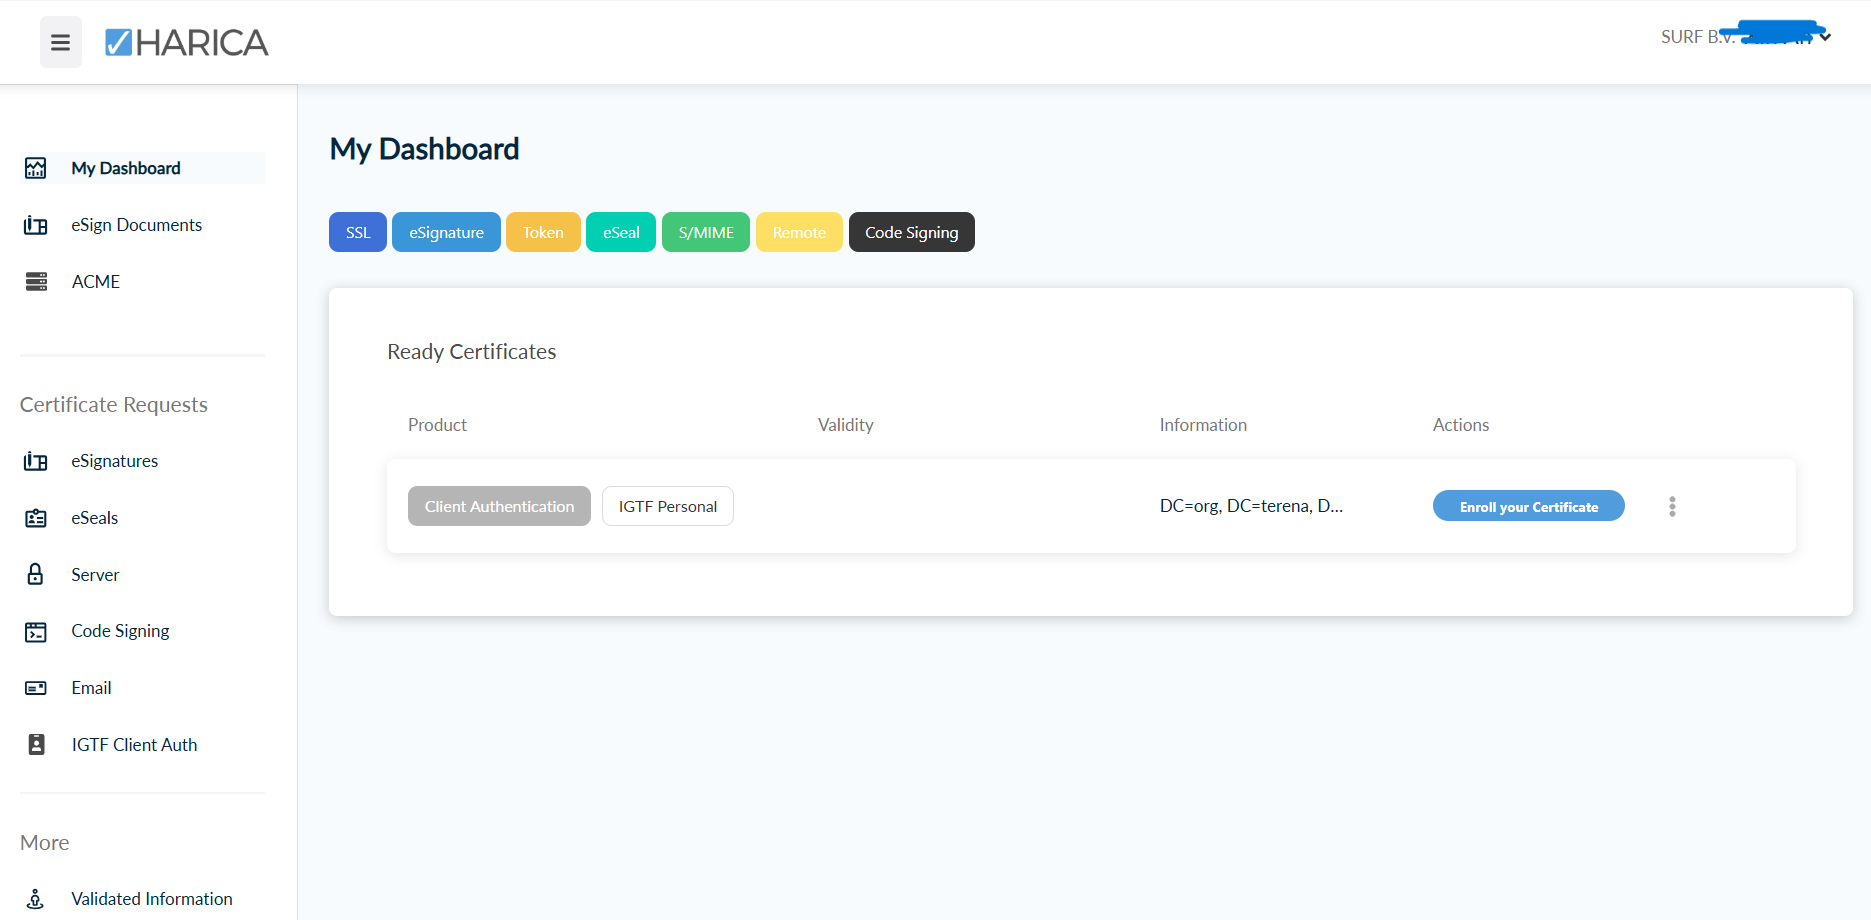
Find the “Ready Certificates” on “My Dashboard”, and click on “Enroll your Certificate”. For the Enrollment Method, choose “Key Generation” and select the Key type RSA - 2048 or RSA - 4096. Do not choose any other option here (they are for experts only).
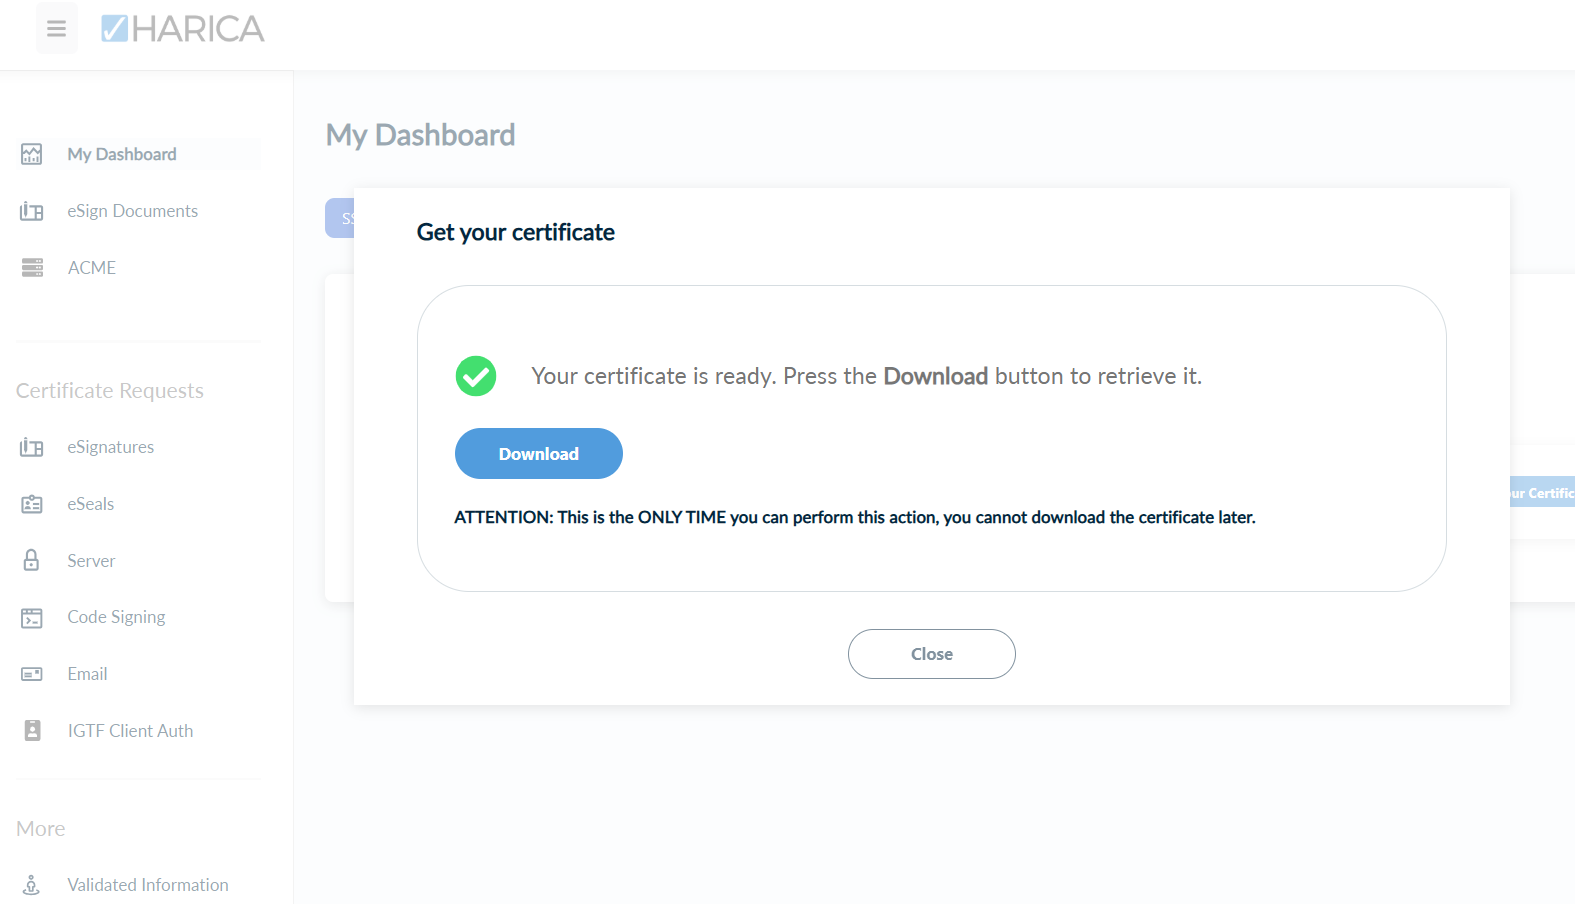
Think of a strong passphrase (at least 15 characters), memorize it, or keep it in a secure password manager, then enter it in the dialog boxes (twice).
Download the certificate in a safe place and make a backup copy of the file. The filename is Certificate.p12.
Now you can import your certificate in your browser or convert it into a series of files you can use for grid, personal, and browser usage.
Use a Harica certificate
You can use the Harica certificate in two forms:
the “.p12” file can used in browsers and/or email client,
convert to “PEM” file for for authentication and accessing Research and e-Infrastructures like the DNI, GinA, WLCG, EGI, &c (‘grid’).
Import certificate in browser
For Firefox users,
Open the Options screen and the “Privacy & Security” section (type “about:preferences#privacy” in the address bar)
Scroll down to find “View Certificates…”
Click on “View Certificates…”
In the dialog box, click on “Import…”
Select the file (.p12 or .pfx) using the file selection box and click “Open”. Enter the password that was used to encrypt this certificate backup and click OK.
For Safari users opening a p12 file will open it in Keychain, please follow the Apple Import guide from DigiCert.
For other browser users, please check Generation 5 GEANT Trusted Certificate Service TCS.
Convert .p12 file and use on GRID UI
The following commands will download the “tcsg4-install-credential.sh” script, and convert the downloaded PKCS#12 (.p12) file into a series of files you can use for grid, personal, and browser usage. During this process, you need to enter the password you used during certificate creation.
Download the script
curl -o tcsg4-install-credential.sh https://ca.dutchgrid.nl/tcsg4/tcsg4-install-credential.shConvert the file
sh ./tcsg4-install-credential.sh -R Certificate.p12
Upon successful completion, you will see several new files generated.
On Grid UI, you can test by creating VOMS proxy